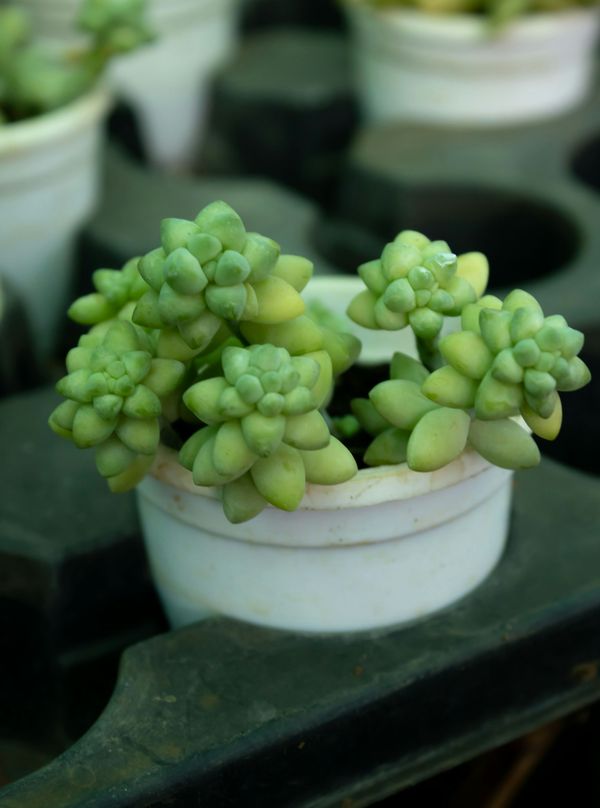
Burro's Tail Care Guide
How to grow and care for Burro's Tail (Sedum morganianum)
Welcome to the delightful world of Sedum morganianum, commonly known as Burro's Tail! This charming succulent is beloved for its cascading stems adorned with fleshy, blue-green leaves. Perfect for indoor cultivation, it adds a touch of whimsical beauty to any space. As an easy-care plant, Sedum morganianum is ideal for both beginners and seasoned plant enthusiasts. Let's explore how to care for and maintain this unique plant, ensuring it thrives and flourishes in your home.

Disclosure: This content includes affiliate links, which means we may earn a commission if you click on a link and make a purchase. As an Amazon Associate, we earn from qualifying purchases. This comes at no extra cost to you and helps offset the cost of running Leafwise. Please read our disclaimer for more info.
Table of Contents
Care
Light Requirements
Burro's Tail thrives in bright, indirect light and can tolerate some direct morning sun. However, prolonged exposure to intense afternoon sunlight may scorch the leaves. Position the plant near a bright window with filtered light for best results.
Watering
Water thoroughly, allowing the soil to dry completely between waterings. During the growing season (spring and summer), watering every two weeks is a good starting point. However, always check that the top inch of soil is dry before watering, and adjust frequency based on environmental factors such as light, humidity, and temperature.
Humidity and Temperature
This plant prefers average indoor humidity and temperatures between 60–75°F (15–24°C). Ensure proper air circulation to prevent fungal issues. Avoid sudden temperature changes, drafts, and cold exposure below 50°F (10°C), as these can damage the plant.
Soil
Use a well-draining cactus or succulent potting mix enriched with coarse sand, perlite, or pumice. This blend helps mimic the plant’s natural environment and prevents moisture buildup that can lead to root issues.
Fertilization
Feed monthly during the growing season with a balanced, water-soluble fertilizer diluted to half strength. Watch for signs of over-fertilization, such as browning leaf tips or leaf drop. Do not fertilize during winter when growth slows.
Maintenance
Pruning
Remove any fallen or unhealthy leaves to maintain appearance and limit pest attraction. Prune sparingly, as the plant’s leaves are delicate and detach easily.
Cleaning
Dust the leaves gently using a soft brush or cloth to keep them clean and reduce the risk of pests. Be especially careful during handling, as Burro’s Tail is known for its fragile, easily detached leaves.
Repotting
Repot every few years or when the plant outgrows its container. Use a slightly larger pot with ample drainage holes to prevent root rot. Spring is the best time to repot.
Propagation
Burro's Tail propagates well from both leaf and stem cuttings. Snip a healthy segment and allow the cut end to callous over for several days. Place the calloused end on top of well-draining soil—do not bury it, as this can promote rot. Mist lightly until roots develop. Propagation is most successful during the spring or summer growing season.
Common Issues
Pests
Burro's Tail can attract mealybugs and spider mites, which are often identified by webbing, sticky residue, or cottony white spots. Inspect your plant regularly for these signs. If pests are detected, remove them manually with a cotton swab dipped in rubbing alcohol or rinse the plant gently with water. For persistent infestations, apply insecticidal soap or neem oil to all surfaces, including leaf undersides and crevices. Repeat treatments every 7–10 days until pests are eliminated. Isolate the affected plant during treatment to prevent the spread of pests.
Root Rot
- Symptoms: Wilting, yellowing, or browning leaves; mushy, discolored, or foul-smelling roots.
- Causes: Overwatering, poor drainage, or pots lacking proper drainage holes.
- Solutions: Trim off damaged roots with sterilized tools. Repot the plant in fresh, well-draining soil and ensure the container has adequate drainage. Let the soil dry completely between waterings.
Fungal Infections
- Symptoms: Soft, dark lesions on leaves or stems; powdery mildew; or fuzzy fungal growth.
- Causes: Excess moisture, poor airflow, or watering directly on foliage.
- Solutions: Remove infected plant material and improve airflow around the plant. Avoid overhead watering and treat affected areas with an appropriate fungicide.
Yellowing Leaves
Yellowing is often caused by overwatering or insufficient light. Let the soil dry out fully between waterings, and ensure your plant receives enough bright, indirect light.
